
A recipe for no-knead bread that takes only 4 ingredients and some patience. No need to “proof” yeast, and takes only a fraction of the amount of yeast that a normal bread loaf requires. Delicious crusty and fluffy bread you’ll want to make every day!

I’ve been hearing about this no-knead bread for a while but I didn’t see a need for trying it until recently. What really drew me in is that it only requires 1/4 teaspoon of yeast – where my normal recipes call for 9 times that amount for the same amount of bread (1 normal packet = 2 and 1/4 teaspoons.)
The magic of time.
So if you’re trying to extend the life of the instant yeast you have (instant* is important), this recipe is for you.
The way this works is because you let it rise much longer than normal! Much less hands-on time, but some waiting is involved.
I’ve been making this after dinner time, and letting it rise for about 16 hours until the next afternoon. It’s recommended to let it rise at least 12 hours, closer to 18 if you can.
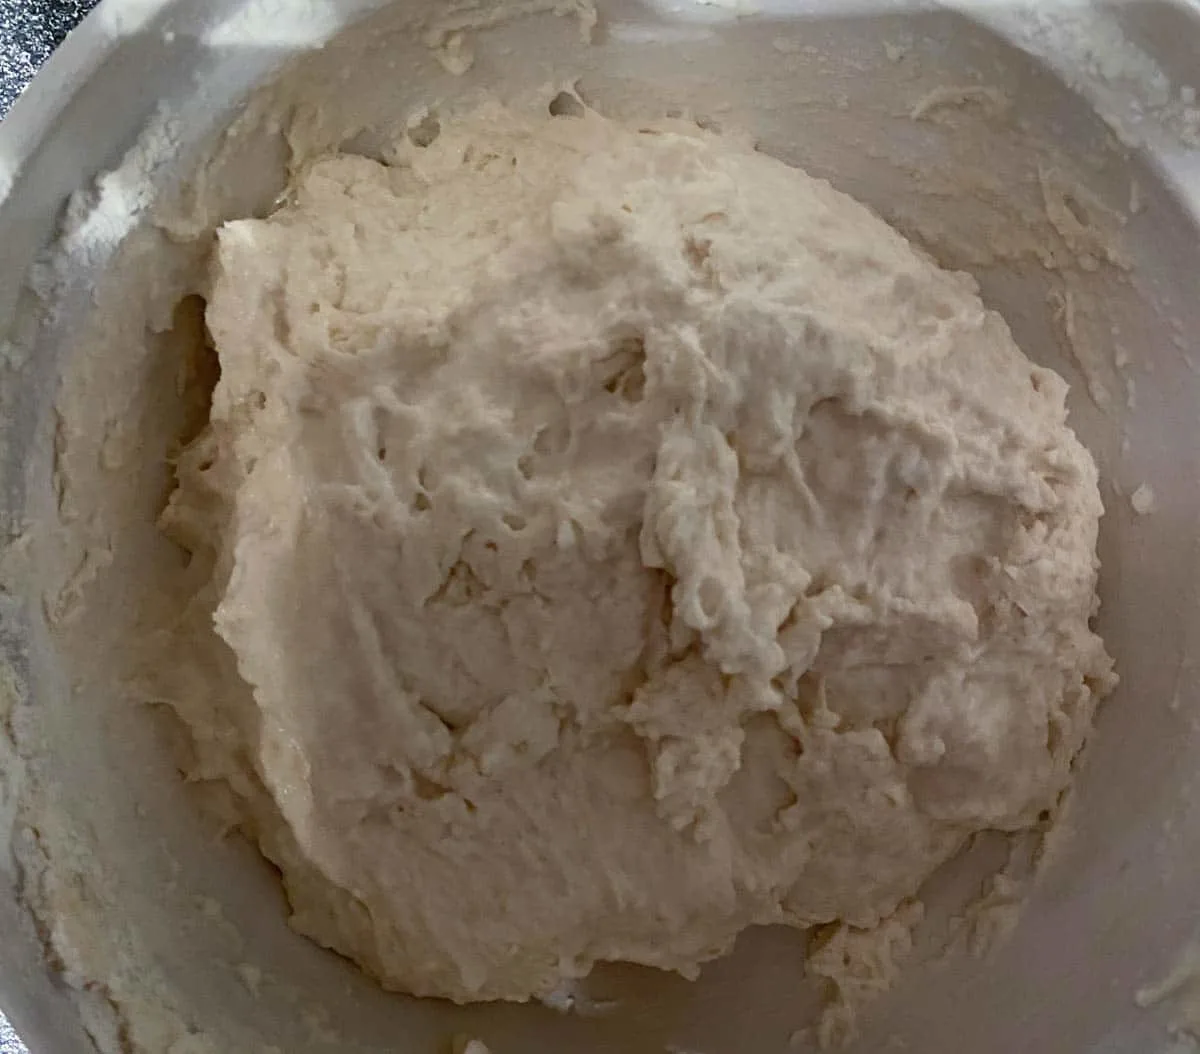
Right after a quick mixing of the flour, yeast, salt and water:
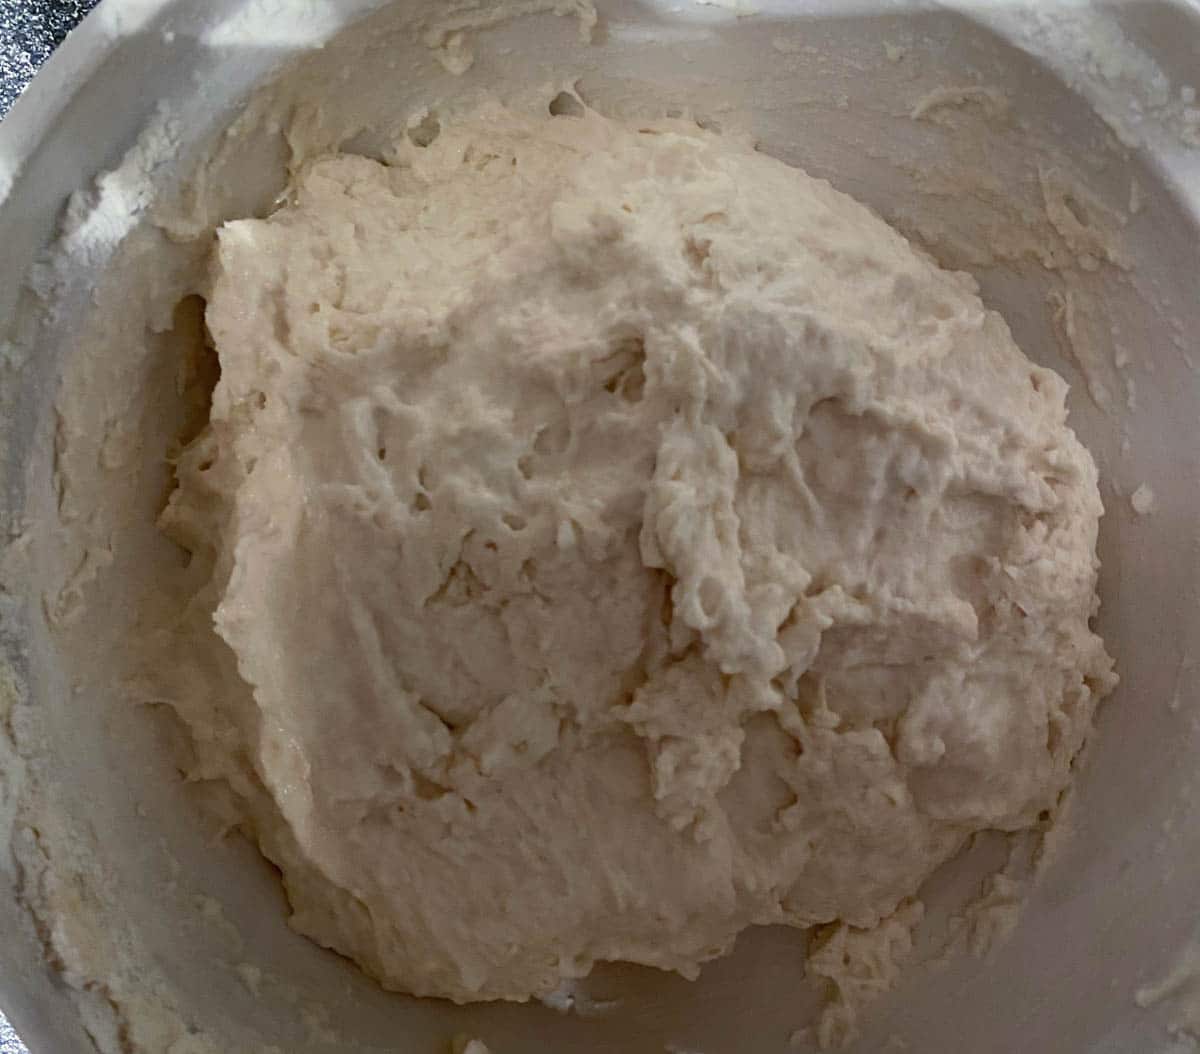
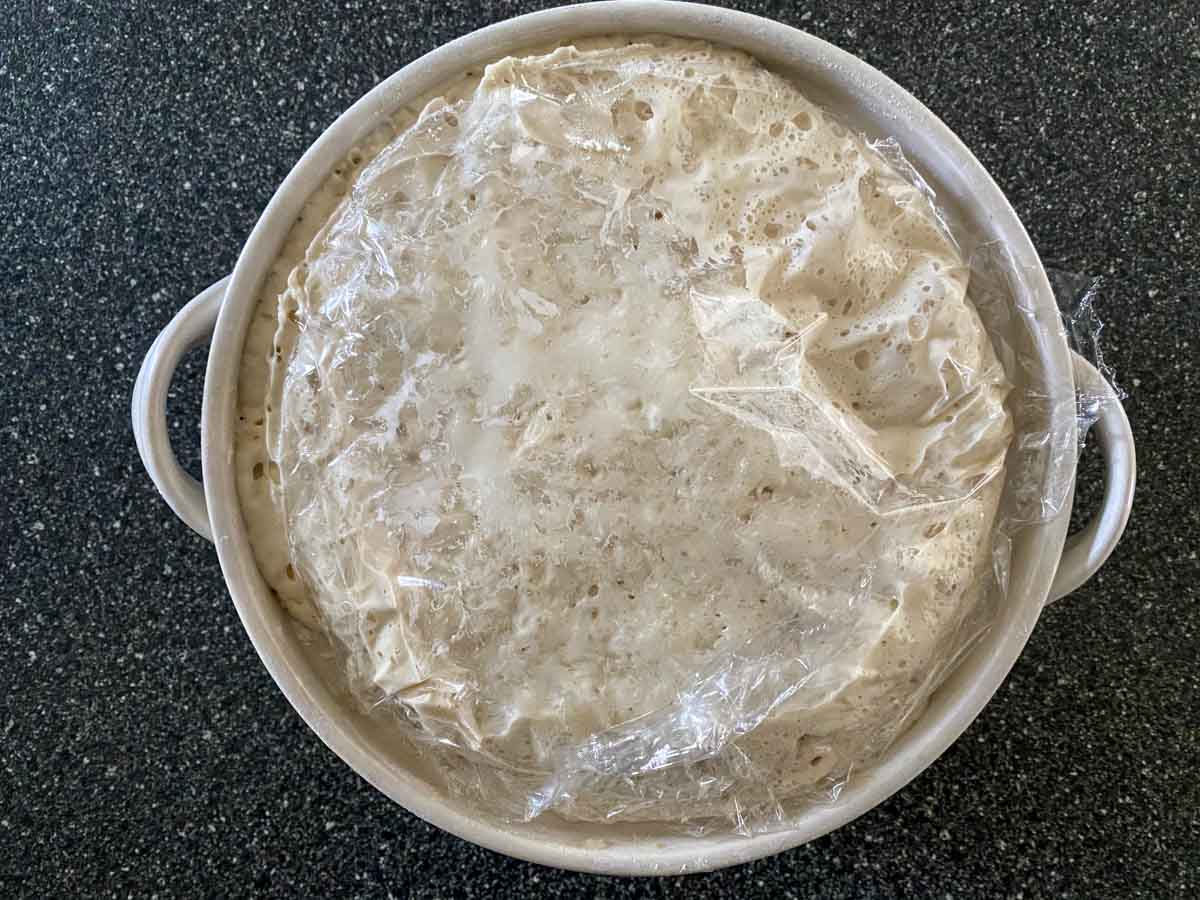
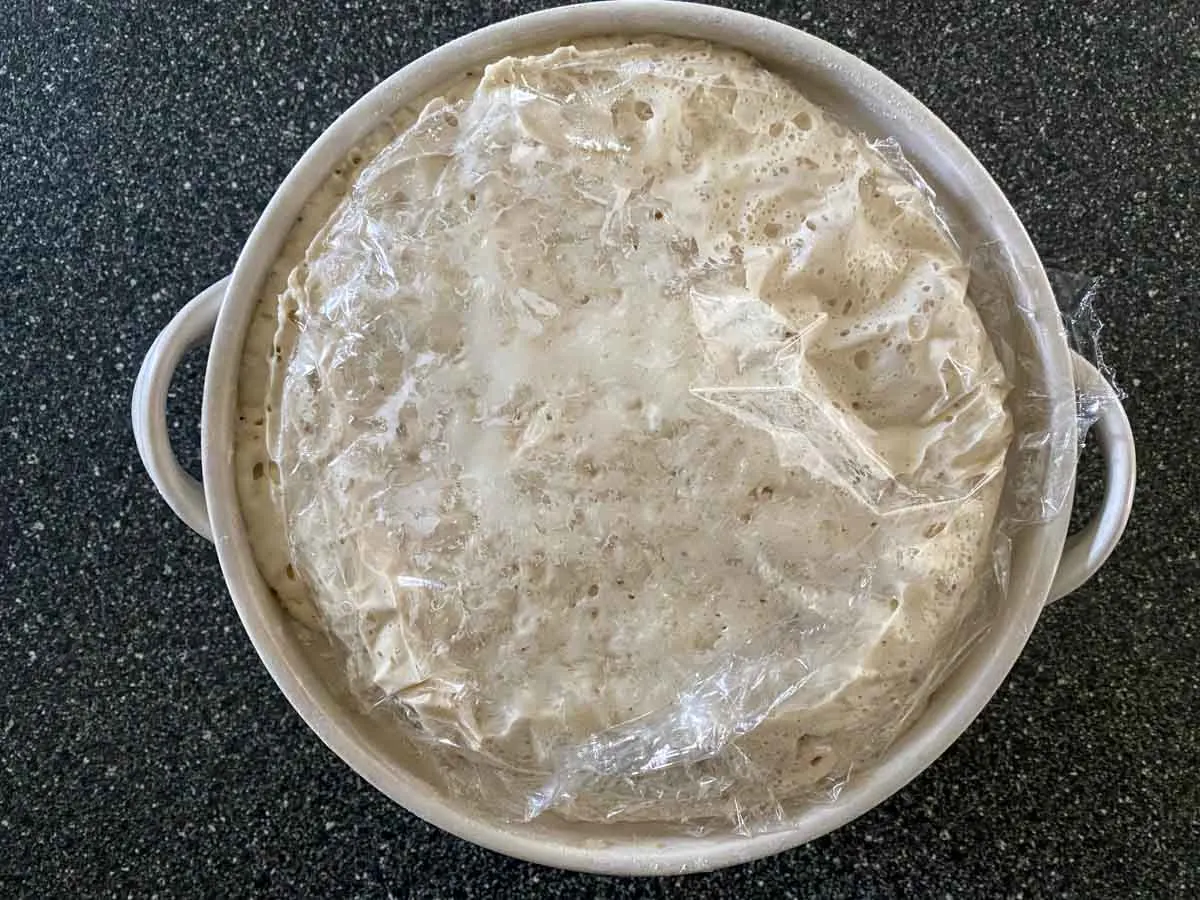
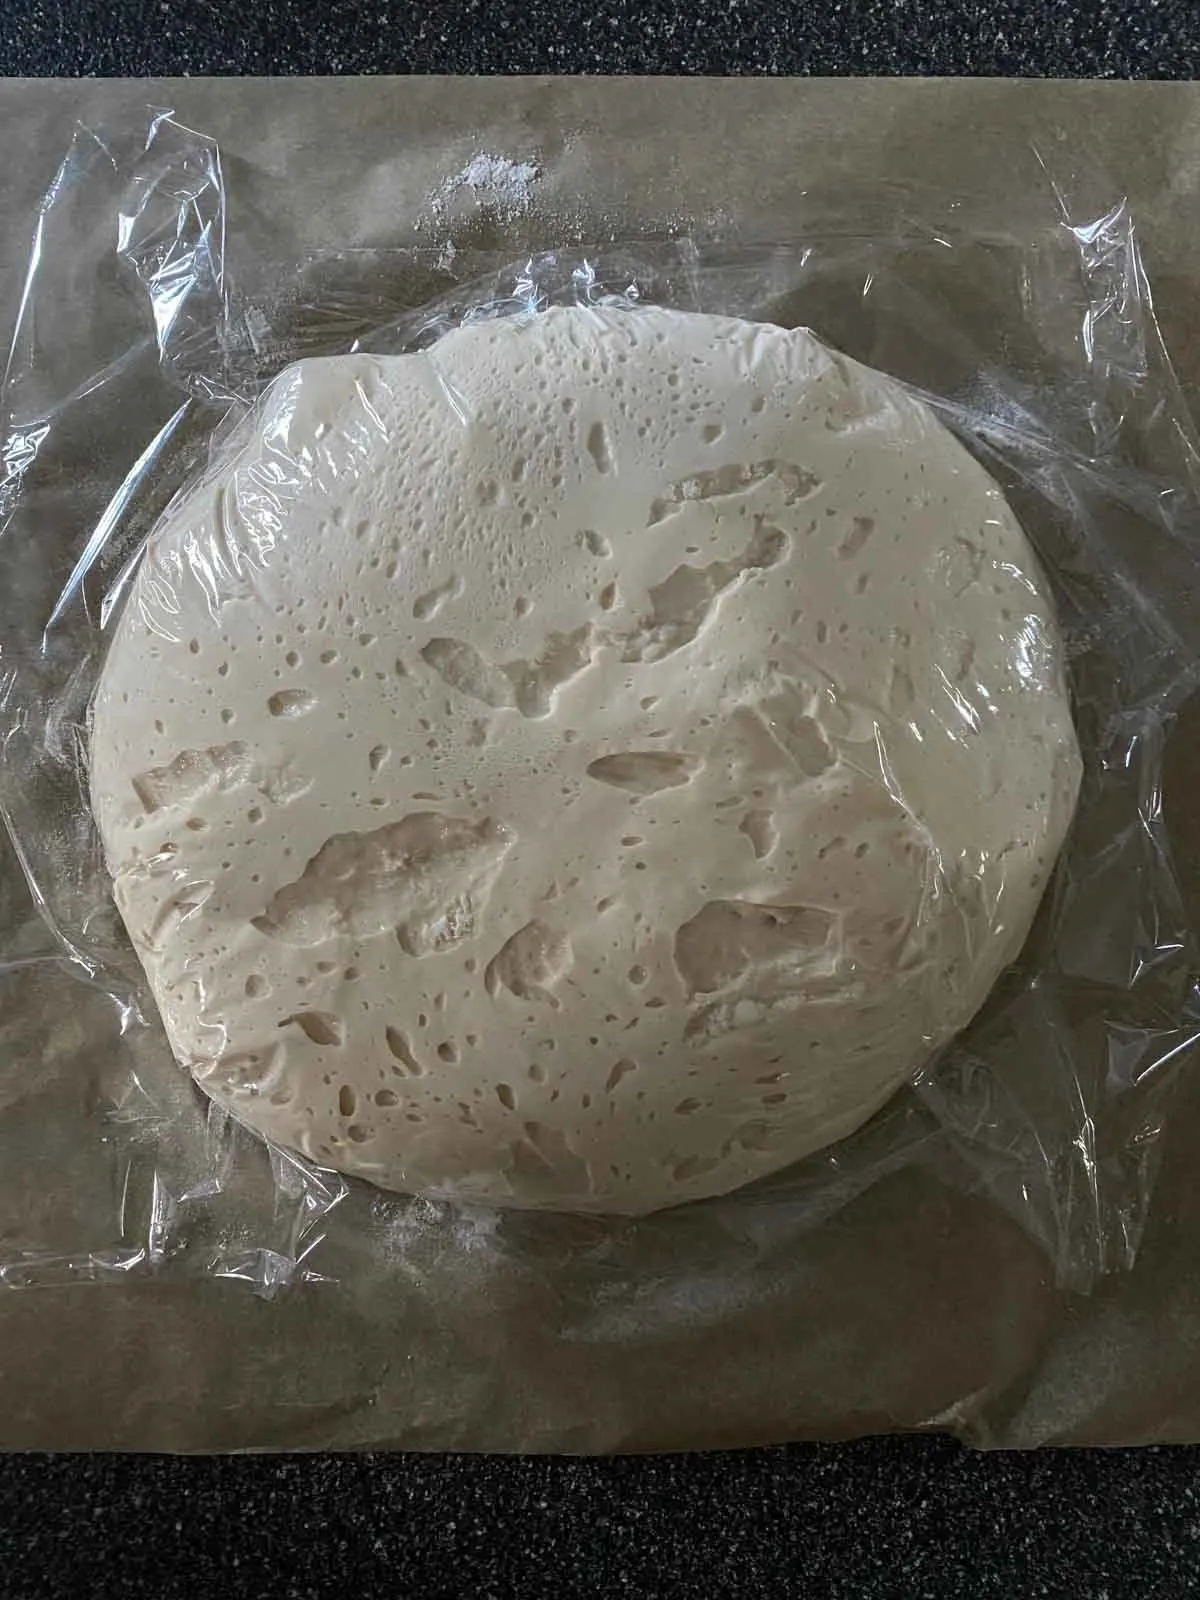
After waiting 16 hours:
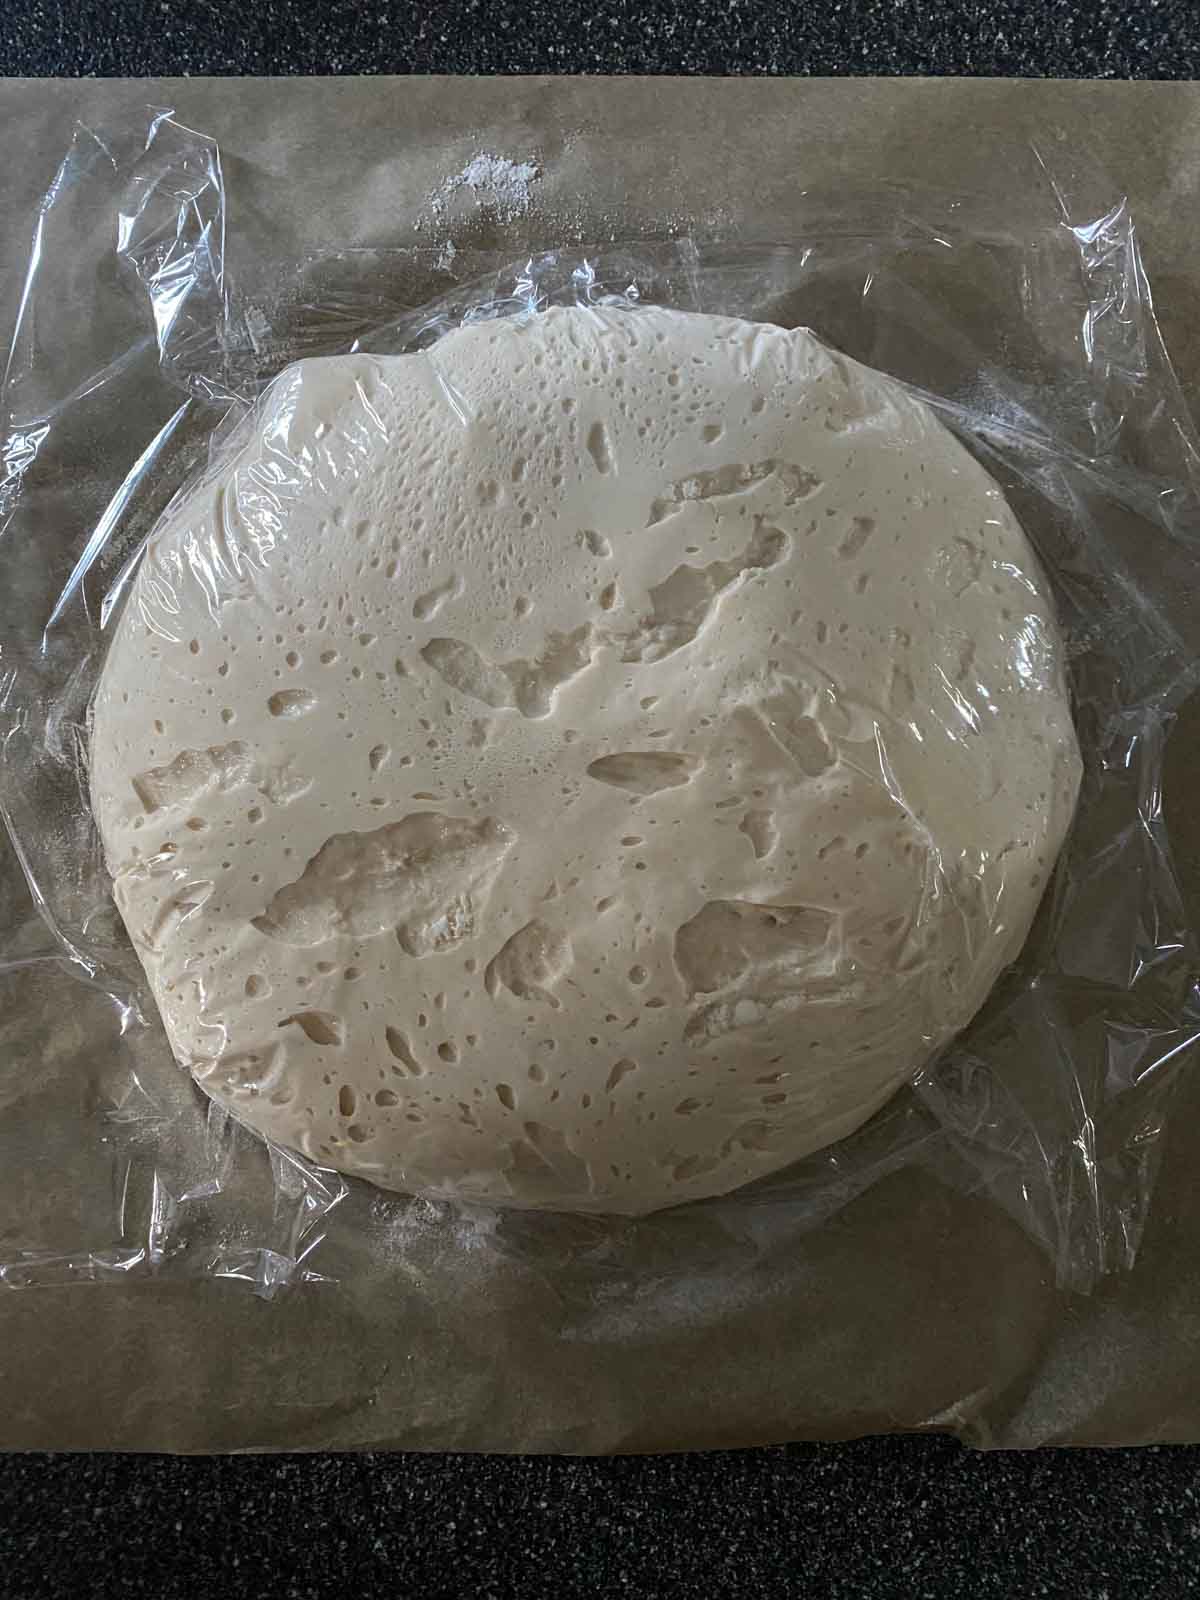
The dough should be sticky but not so sticky that it stays glued to your hands. An extra tablespoon or so of flour is probably going to be needed here before you form into a ball on a piece of parchment paper.
I let it rise a second time for another couple hours – which, as long as it rose well the first time, you can get away with skipping the second – but time is the real secret ingredient here. The more patient you can be, the better the bread will be.
Why this recipe is great:
- Only requires 1/4 teaspoon of instant yeast
- No proofing the yeast required
- Minimal work necessary – no kneading and a mixer not necessary
- 4 ingredients (including water)
- Vegan
- Delicious!

Since I’ve tested it a few times now I will tell you what I’ve learned as far as why each step is important (and what steps you can skip if needed).
Why plastic wrap is needed: The original recipe calls for covering the dough with plastic wrap only during the second rise, though I actually prefer to put the plastic wrap on for the overnight rise. This helps avoid the dough drying out and getting that “crusty layer” on top. Not an essential step, just something to be aware of if you’d rather just cover with a towel.
Amount of yeast. I tested this recipe with 1/2 teaspoon of yeast first, and then went down to 1/4 teaspoon. The 1/4 teaspoon still worked great (as NY Times recipe is written) but if you’re skeptical you can try 1/2 teaspoon first.
Preheating the oven with the baking pan: The original recipe calls for preheating the empty baking pan for at least 30 minutes before putting the dough in, so it’s extra hot. I tested this and I did notice that the crust was slightly crispier when this is done, but it still turns out great even if you skip this step.
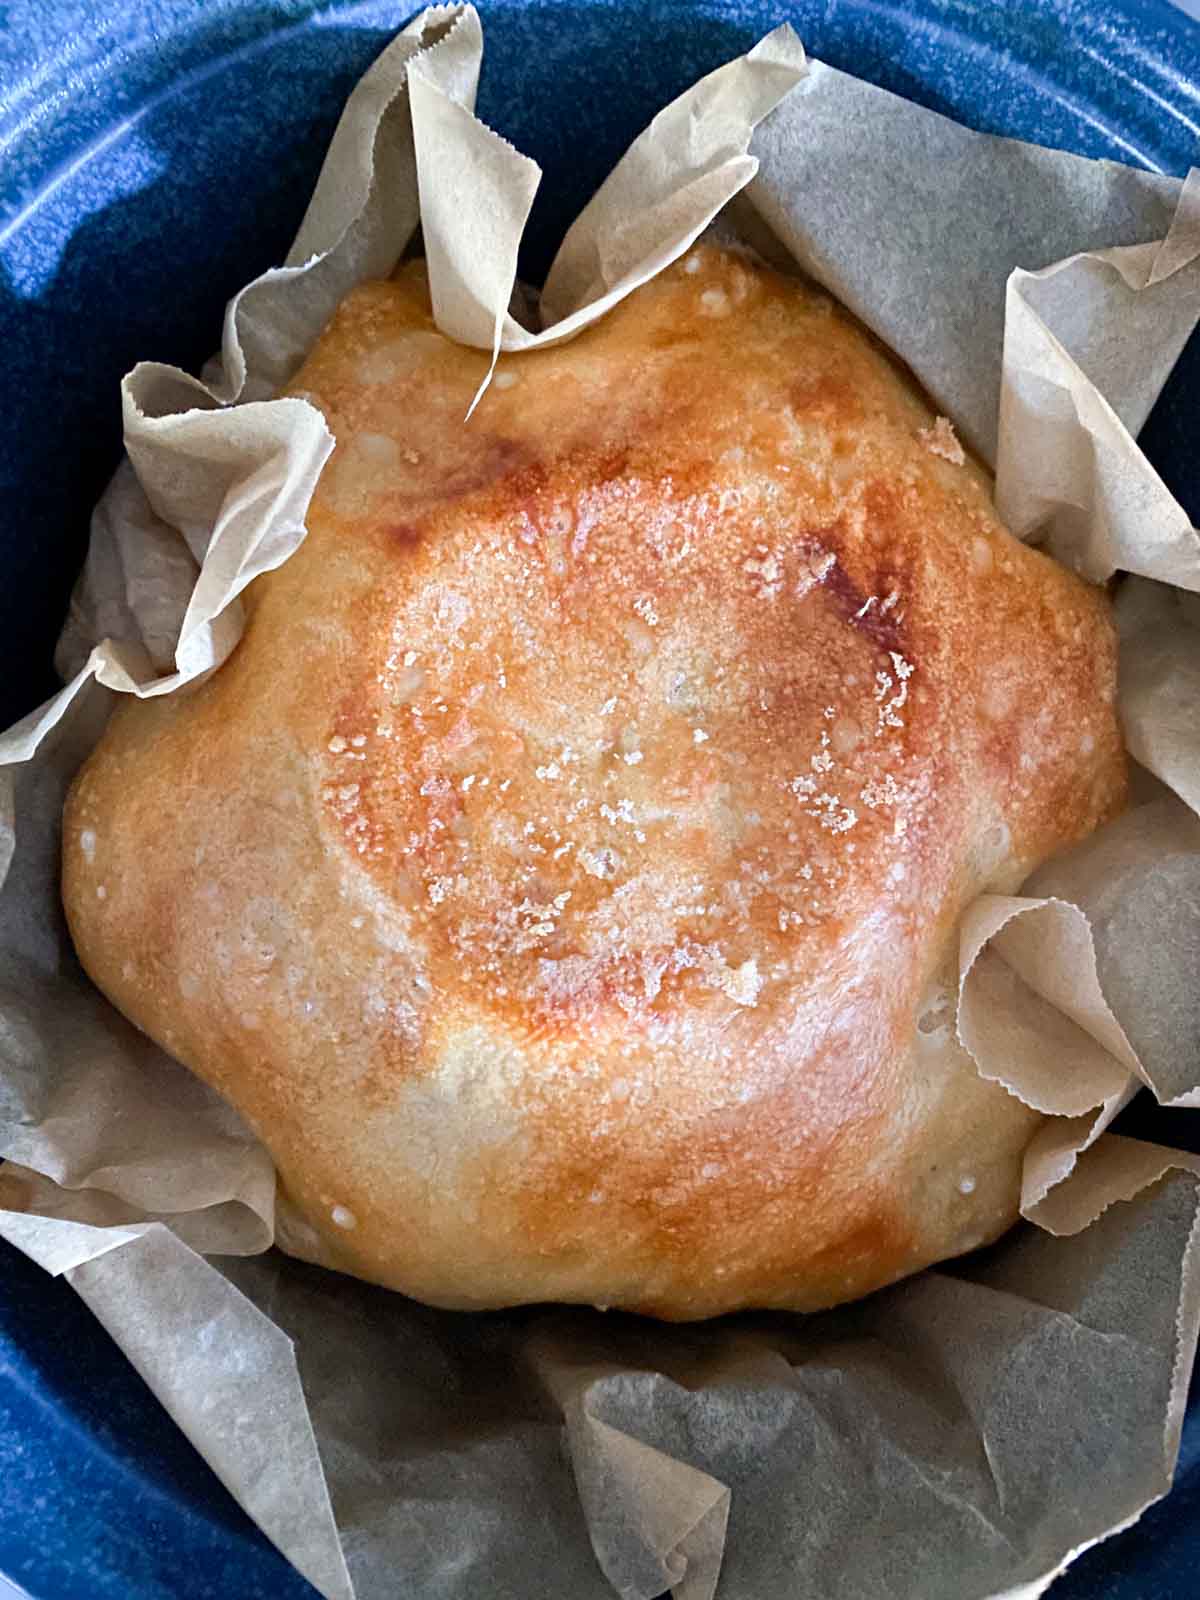
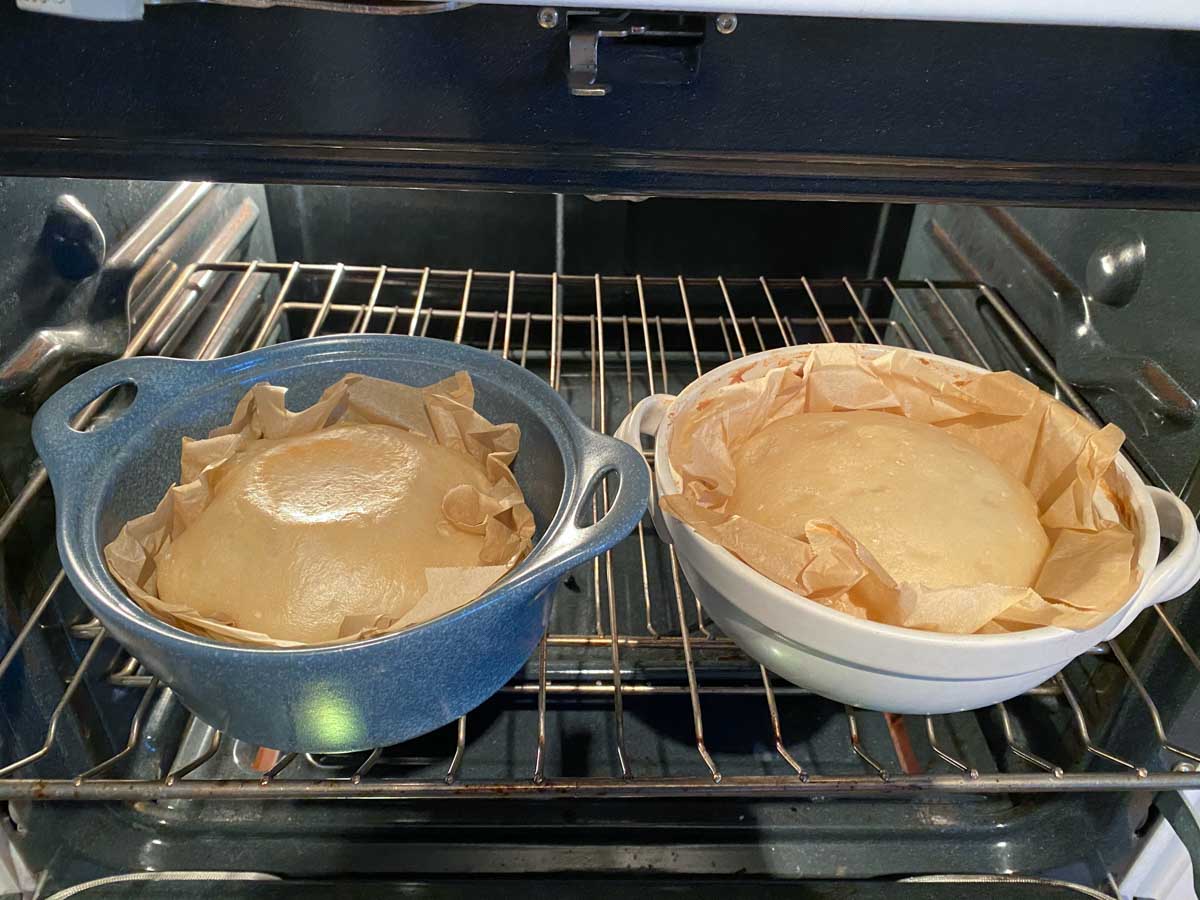
A note about baking dish sizes: A large dutch oven (6 quarters or bigger) or baking pot with a lid is best here, but since my large pots are all in storage right now I only had two smaller ones about 2 quarts each. If you’re working with smaller pots too, split the dough into two balls before the second rise. One of my pans had a flat lid and the other had a dome-shaped lid, and the flat lid did stick to the top of my loaf in the oven. So you may need to bake uncovered if you think the pot isn’t big enough to account for the rising in the oven.
Work with what you have!
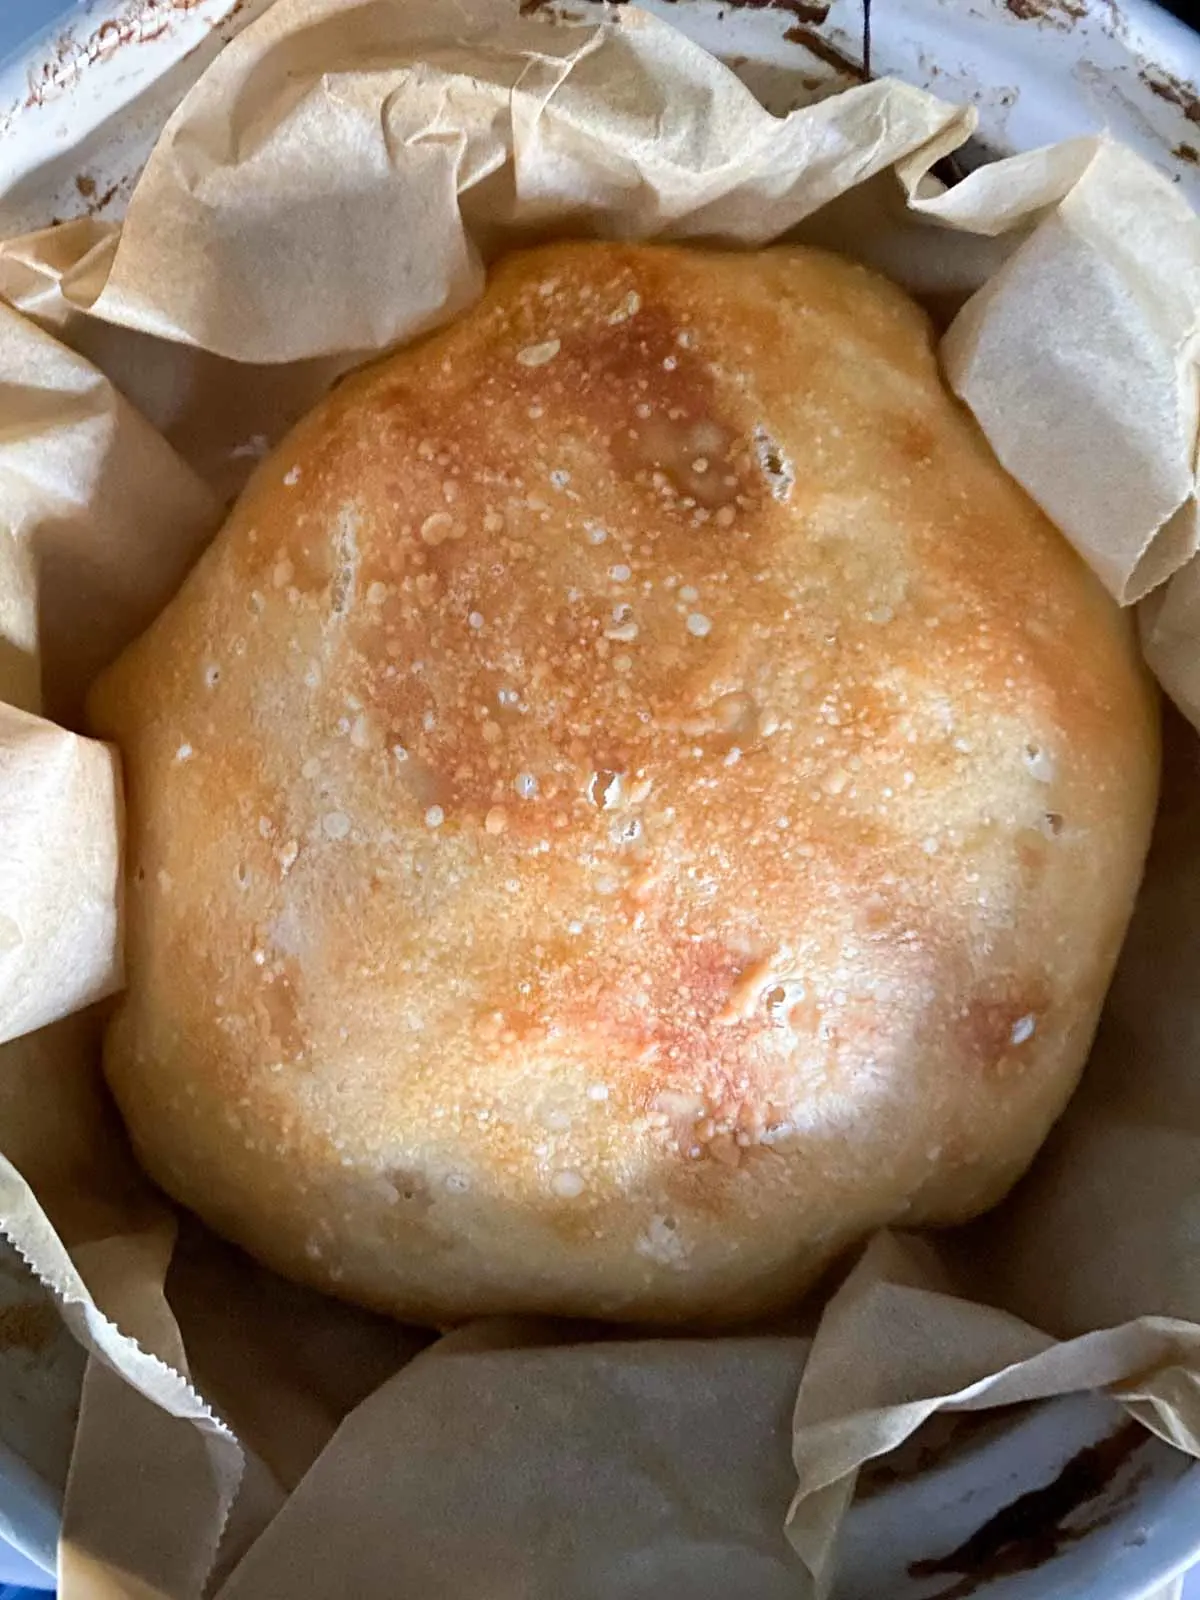
(You can see the indent on the left side after I got the lid unstuck.)

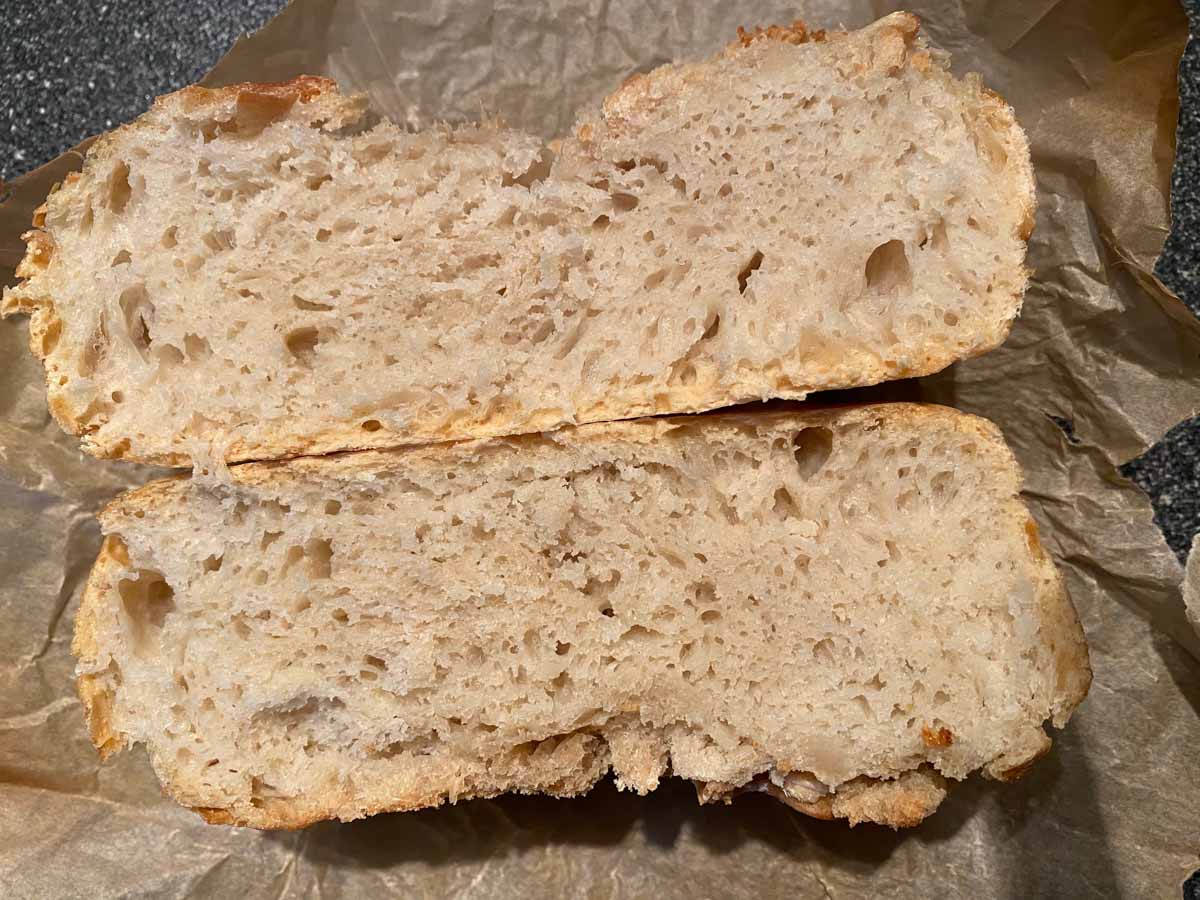
This bread is the kind of loaf that’s perfect with a dollop of salted butter or jam, or as a dipper for soup. It’s the kind you simply tear off a chunk to eat over the pan because you can’t wait to slice a piece.
Need a recipe for bread that requires no yeast at all? Check out my Irish soda bread recipe.

No-Knead Bread (Overnight Recipe)


A recipe for no-knead bread that takes only 4 ingredients and some patience. No need to "proof" yeast, and takes only a fraction of the amount of yeast that a normal bread loaf requires. Delicious crusty and fluffy bread you'll want to make every day!
Ingredients
- 3 cups all-purpose flour (plus a couple tablespoons extra as needed) *
- 1 1/4 teaspoon salt
- 1/4 teaspoon instant yeast
- 1 1/2 cups room-temperature water
Instructions
- In a large mixing bowl, whisk together the 3 cups flour, salt and yeast. Add the 1.5 cups water and stir together until just combined. It won't look like it has enough flour - but just keep going.
- Cover dough with plastic wrap (this helps to not dry out the dough - but not required) and place a clean towel over the bowl. Let it sit and rise, untouched for 12-18 hours.
- After the time has passed, your dough should have at least doubled in size and look a little bubbly. Get out a piece of parchment paper, sprinkle a tablespoon or two of flour on it and dump your dough on to the paper. Form dough into a loose ball (no kneading). Dough should be tacky but not stay stuck to your hands.
- Place dough with parchment paper into the baking pan you will use - a 6-quart Dutch Oven or other large baking pot with a lid. (If you have smaller pots only, read the notes.) Let rise for another 2 hours if you can wait.
- Preheat oven to 450°F. If you're so inclined, preheat the empty pot with the oven for 20-30 minutes so it's extra hot before baking the bread (take the dough out first and let sit on counter or other bowl during this time.) This will help the bread get extra-crusty, but not a critical step.
- If you pre-heated the pan, remove from oven carefully and place the dough (still on the parchment paper) inside. Cover with lid and bake for 30 minutes.
- Remove lid and bake uncovered for another 15-20 minutes or until nicely browned.
- Enjoy!
Notes
*I prefer to use 00 Italian Flour, which is a soft wheat flour used at some Italian restaurants. This is harder to come by, but I highly recommend this flour especially if you're looking for one without additives!
**Make sure it says *instant* yeast - search for on Amazon (affiliate link)
***All my large pots are in storage so I only had small (1.5 quart) baking dishes available. I divided the dough into two loaves before the second rise and followed the rest of the instructions as listed. Depending on the size on your pan, you might be able to fit all the dough in one still - but the lid stuck to the bread top on my first loaf. A large pot with lid is best, but you can make do with what you have.
****Check that your parchment paper doesn't have a temperature limit - some have a max baking temperature at 425°F, in which case you'll want to lower your temperature and increase your bake time by a few minutes.
Recipe adapted from NY Times and Pinch of Yum
Recommended Products
As an Amazon Associate and member of other affiliate programs, I earn from qualifying purchases.


Nutrition Information:
Yield:
2 loavesServing Size:
1/2 recipeAmount Per Serving: Calories: 684Total Fat: 2gSaturated Fat: 0gTrans Fat: 0gUnsaturated Fat: 1gCholesterol: 0mgFiber: 5gSugar: 1gProtein: 20g
Nutrition information is calculated automatically by an online tool at Nutritionix. It is not always accurate. Please use your own tools to check if you rely on this information.
Pat Merrill
Wednesday 5th of May 2021
I like this!!!
Panfilo Gomez
Monday 3rd of August 2020
I make a 60% hydration batch for fry bread and an 80% hydration for an artisan style loaf. To make it more challenging I reduced the amount of yeast to 1/8 a teaspoon...ridiculous, I know, but this method is absolutely phenomenal. It indeed makes the most perfect loaf! PS - I reside at 7000 ft. elevation and no problem. What I do is weigh the amount of water I need in the large mixing bowl, add the yeast and then wisk until frothy. Then add the dry ingredients. I then place the bowl inside a large plastic bag with a tie to prevent drying.
Static
Wednesday 17th of February 2021
@Panfilo Gomez, thanks for the tips!
Sheila
Tuesday 26th of May 2020
I’m at a high altitude so it didn’t work. Any suggestions.?
Kelly
Tuesday 26th of May 2020
I don't have any personal experience with high-altitude baking, but here are some tips I found that might help. It sounds like you might not need to let it rise as much and add more flour, increase baking temp by 25% and baking time reduced by 25%. https://www.wheatmontana.com/content/high-altitude-baking-how-make-your-recipes-work-mountains